
Let's quickly set up a Windows Task Scheduler task that can automate Excel in just about any way. These tasks can be anything that you would do in Excel, like add a new row, run calculations, or print a copy. Local administrator privileges will be necessary for the setup, but the program will not run as an administrator, which makes this a more secure installation.

Automating Excel on Windows - 5 Minute Guide
Setting Up a New User
First, create a new user account. This can be a normal user account, unless you know you need administrator privileges. If so, that can be configured later at your will. For now, let’s create a local user very quickly.
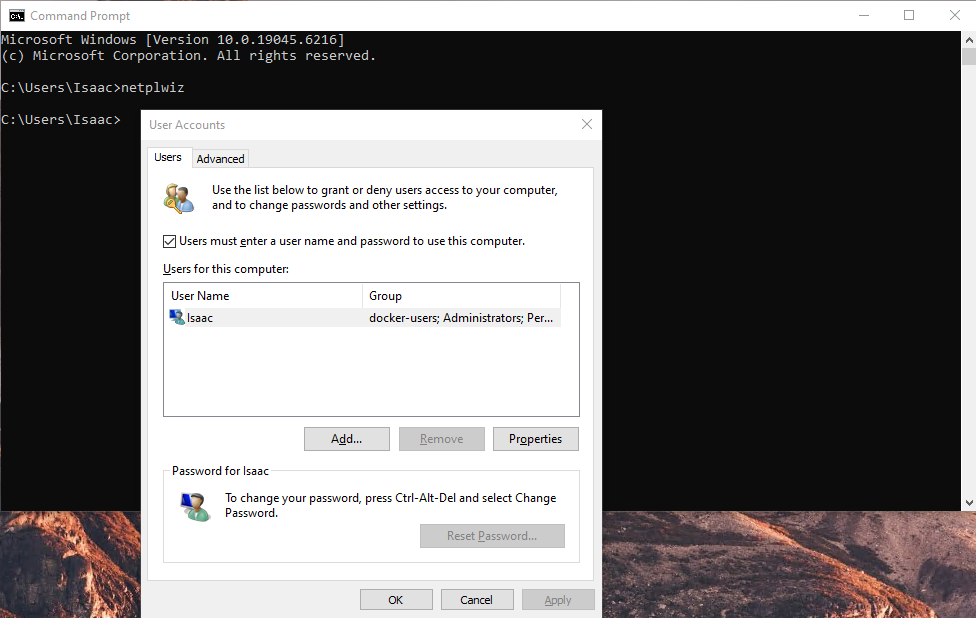
To create a new local user, launch the wizard by hitting the Windows + R keys and typing “netplwiz”. You can also run this in Command Prompt or PowerShell.
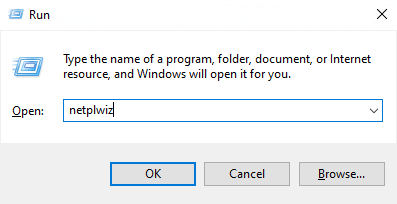
Launching New User Wizard
Add New User Wizard Then hit “Add” to create a new user. You can skip creating a Microsoft account by choosing ”Sign in without Microsoft account”.
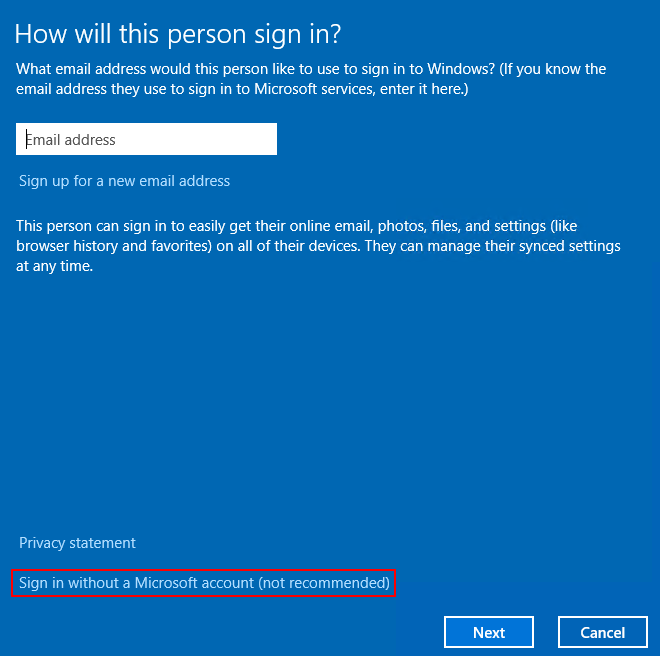
Sign in without a Microsoft account
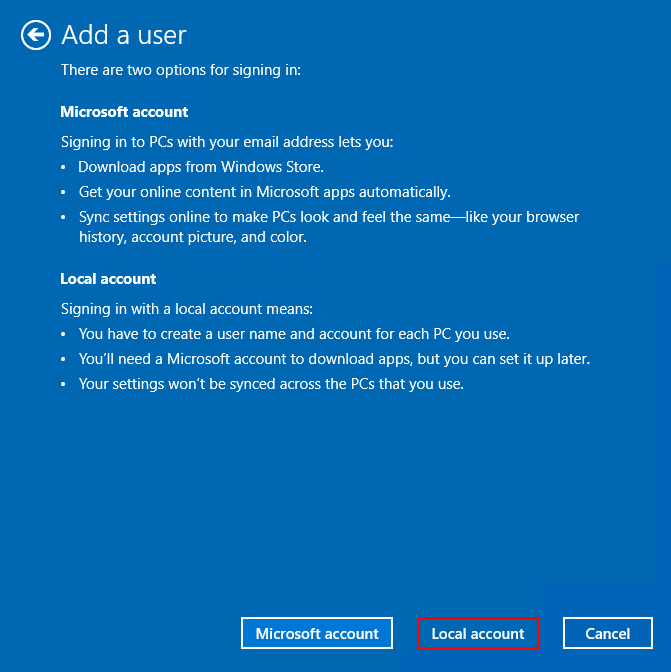
Next, select “Local Account”.
New Local User Account
Now, to set up the account. Pick a username that best describes your task. Make sure to use a password that is at least 15 characters long, because this will make life very difficult for hackers. If your organization provides you with a secret vault, I highly recommend you store this account’s credentials there. Don’t ever store passwords in cleartext, especially not in shared locations.
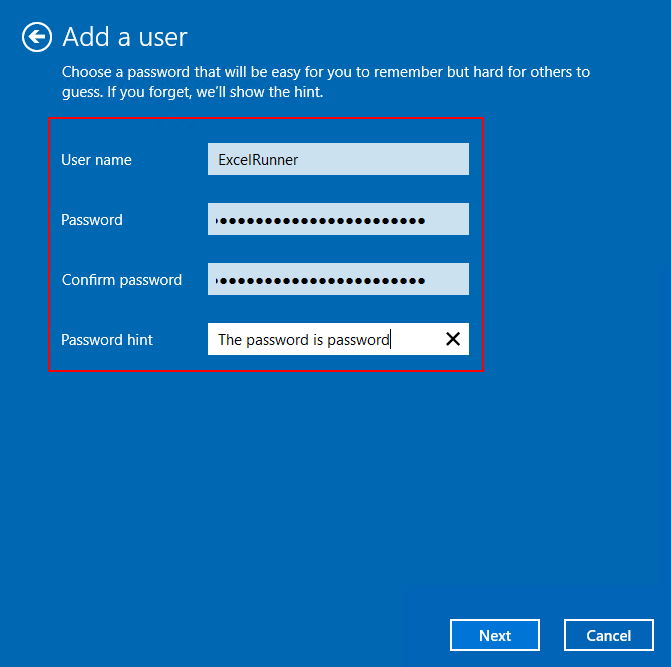
New User Account Setup
Last, you can hit Finish to complete the process. You shouldn't need to log in with this account right now, but make sure you have the username and password.
System Profile Desktop Folder Setup
Next, use local admin privileges to create two new folders. To do this, you can either open File Explorer and have your local administrator account accept each prompt, or run explorer as the administrator by starting PowerShell with the “Run as Administrator” option:
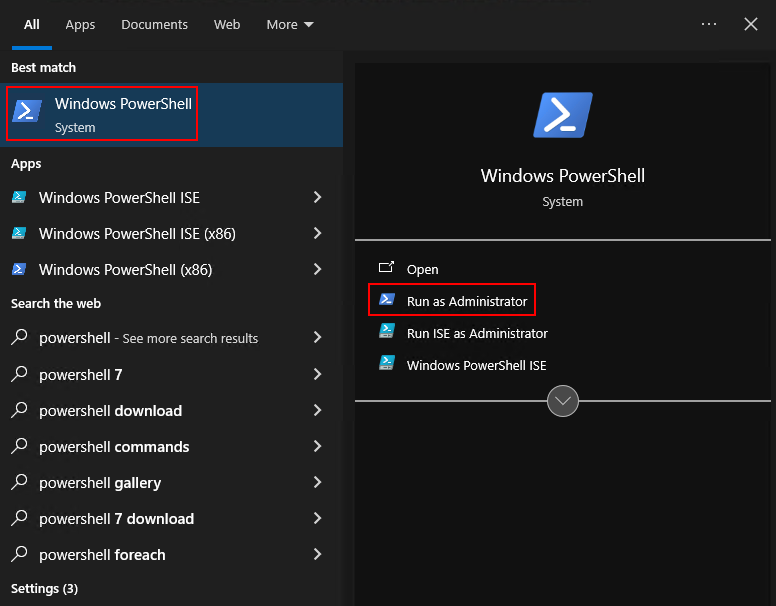
Run PowerShell as Administrator
Once PowerShell is open as Administrator, simply type “explorer.exe” and hit enter. You can now browse files as the Administrator.
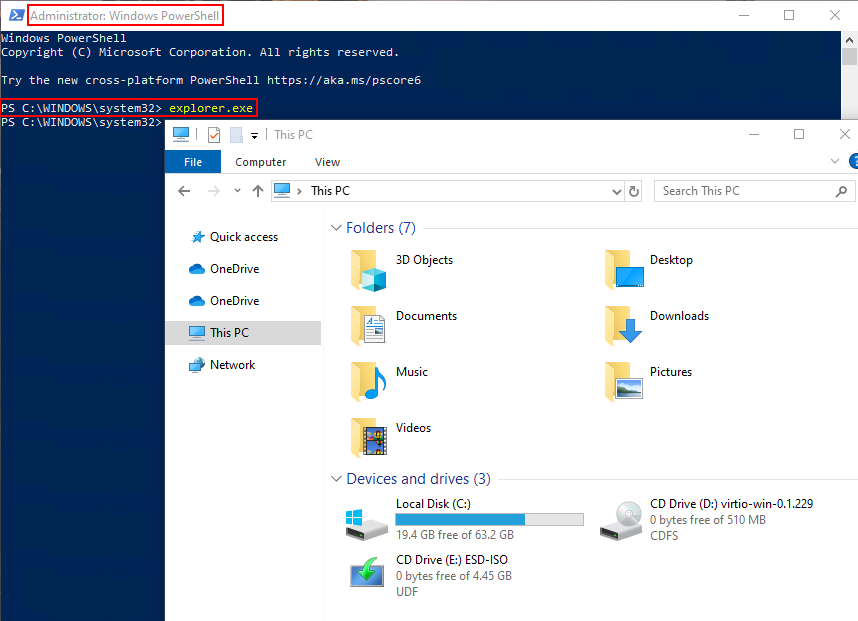
Explorer Running as Administrator
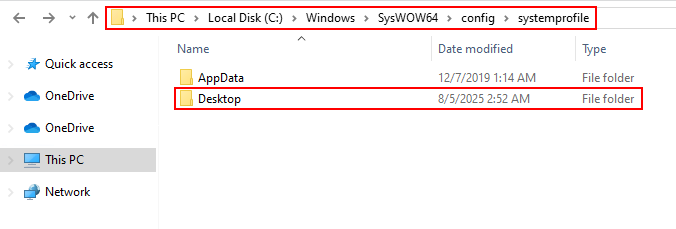
With Administrator access, we will simply create the folders listed below. You can copy the first part of the path, minus the “Desktop” part, and paste it into the navigation bar at the top.
C:\Windows\System32\config\systemprofile\Desktop
C:\Windows\SYSWOW64\config\systemprofile\Desktop
Make sure to create both directories. This is necessary to load the system profile. I don’t know why Microsoft forgot to add this location by default, but just know that if your program isn’t working and these folders are not created, this is likely the issue.
System Profile Path Folders Ready
With these two folders created, now we can configure the permissions for the account.
Configure Permissions
Once the folders have been created, we can move ahead and set permissions for this user. You will need to run two built-in programs, Local Security Policy and Component Services. You may need to run these applications as Administrator.
First, open Local Security Policy in the Windows Start menu. Got to TODO allow logon as batch job
Now, open Component Services and TODO
Task Scheduler
The new account is ready to be used with Task Scheduler. Now youu can run any program automatically. The program starts whenever you need it to. Some examples are below:
1. On Startup
2. On Login
3. Once per day at 6AM
4. TODO
Aside from programs you may also send emails or TODO.
Open Task Scheduler in the Windows Start menu. You will see the page below.
Find the 'Create new task' option.
TODO: finish on a computer that runs Windows